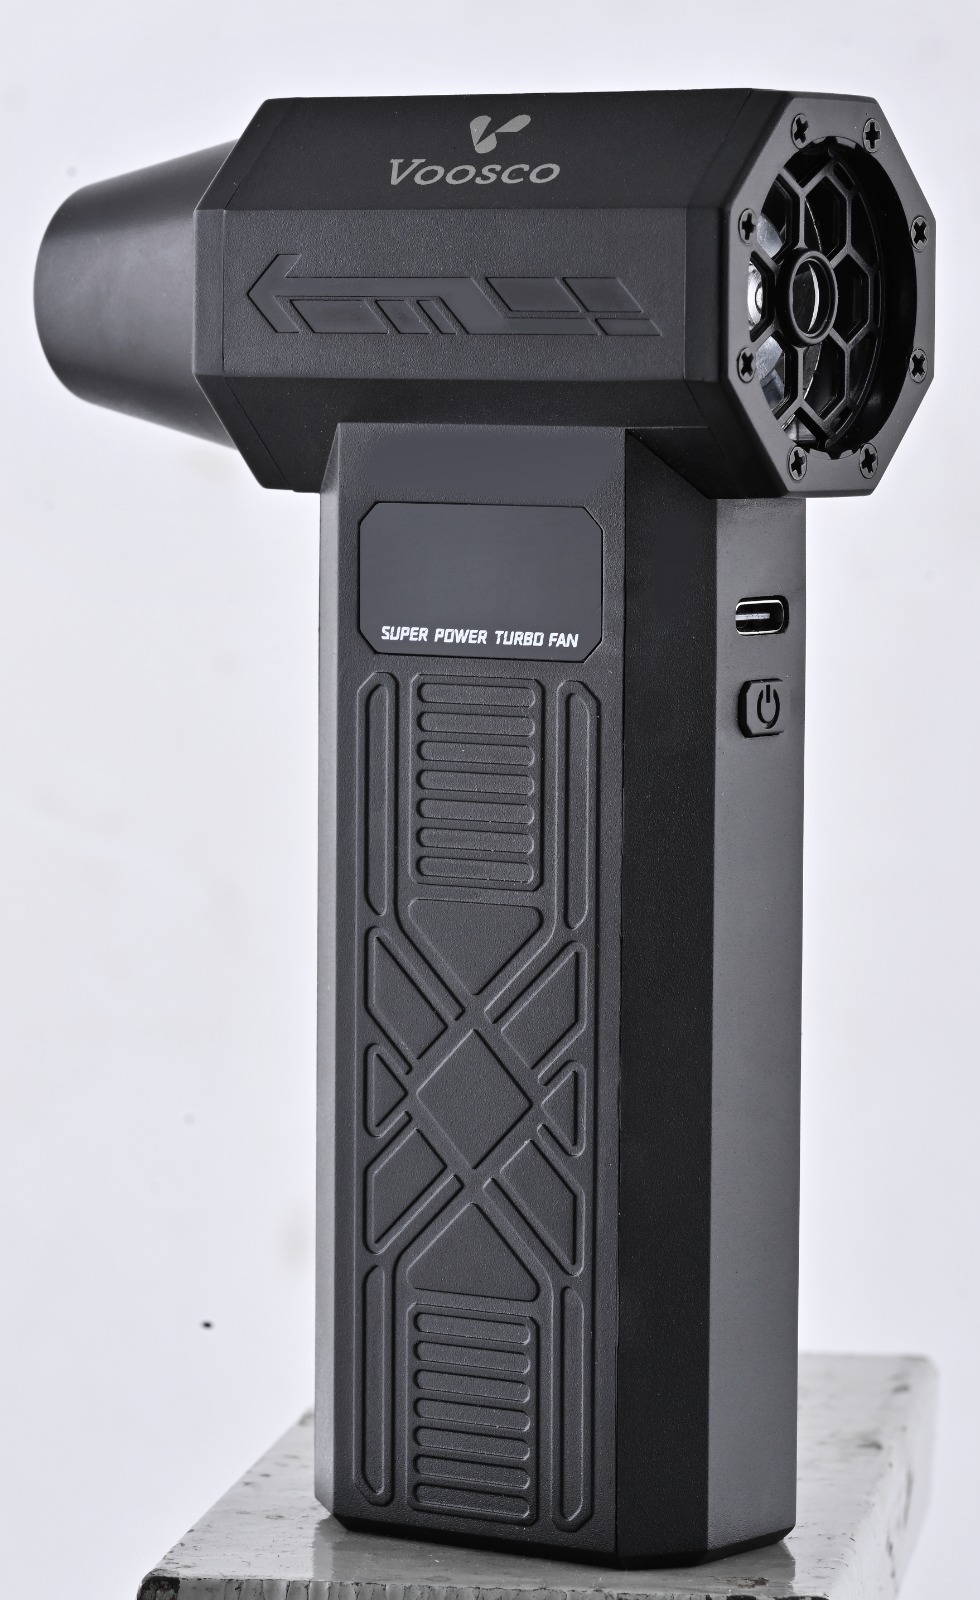
If you own a mechanical keyboard, you know how quickly dust, crumbs, and pet hair can accumulate between and beneath your keycaps. Over time, this buildup affects key travel, introduces phantom keystrokes, and creates an unhygienic workspace. A rechargeable electric air duster is the safest, most effective, and most eco-friendly way to keep your keyboard spotless.
In this guide, we will walk you through every step—from quick daily maintenance to a thorough deep clean—using a VOOSCO Electric Air Duster.
Why Traditional Cleaning Methods Fall Short
Most people reach for one of three tools when their keyboard gets dirty: a can of compressed air, a small handheld vacuum, or a soft brush. While each has its merits, they all come with significant drawbacks.
- Canned compressed air produces moisture condensation that can corrode switch contacts over time. It also uses propellants that are harmful to the environment and loses pressure quickly.
- Handheld vacuums can generate static electricity, which poses a risk to sensitive electronics. They also lack the focused airflow needed to dislodge particles wedged between switches.
- Soft brushes move debris around rather than removing it. They push dust deeper into switch housings instead of blowing it out.
💡 Why Electric Air Dusters Are Superior
A rechargeable electric air duster delivers a consistent, moisture-free stream of air at up to 100,000 RPM. There are no propellants, no cans to dispose of, and no risk of static discharge when used correctly. One full charge can deliver 30+ minutes of continuous cleaning power.
What You Will Need
- A VOOSCO Rechargeable Electric Air Duster (any kit works; the Standard Kit is perfect for keyboards)
- A keycap puller (wire-style recommended)
- A microfiber cloth
- A small bowl of warm soapy water (optional, for keycap washing)
- Isopropyl alcohol (70% or higher) and cotton swabs (optional, for sticky residue)
Step-by-Step Cleaning Guide
Disconnect and Power Off
Unplug your keyboard from your computer or turn off the Bluetooth/wireless connection. If your keyboard has a battery, switch it off. This prevents accidental inputs during cleaning and protects the electronics.
Turn Upside-Down and Shake Gently
Hold your keyboard at a 75-degree angle over a bin and gently tap the back. This dislodges the larger crumbs and loose debris that have settled between the keys. You may be surprised at what falls out.
Use the Air Duster — First Pass (Low Speed)
Attach the precision nozzle to your VOOSCO Electric Air Duster and set it to low speed. Hold the nozzle at a 30–45 degree angle and sweep across the keyboard from left to right. This initial pass lifts surface-level dust without pushing debris deeper into the switches.
Remove Keycaps (Optional Deep Clean)
For a deeper clean, use a wire keycap puller to remove all keycaps. Place them in a bowl of warm soapy water and let them soak for 15–20 minutes. This removes oils, grime, and sticky residue that accumulates from daily use.
Air Duster — Second Pass (High Speed)
With the keycaps removed, switch to high speed on your air duster. Blast air directly into each switch housing, around the stabilizer wires, and along the plate. The exposed switches will release trapped particles that were impossible to reach before.
Spot-Clean with Isopropyl Alcohol
Dip a cotton swab in 70%+ isopropyl alcohol and clean around any switches that feel sticky or have visible residue. Let it evaporate completely (about 2 minutes) before reassembling. Do not pour liquid directly onto the PCB.
Dry, Reassemble, and Test
Rinse your keycaps under clean water, dry them thoroughly with a microfiber cloth, and snap them back onto their stems. Reconnect the keyboard and test every key to ensure all switches register correctly.
Important Safety Tips
Never use a heat gun or hair dryer—the concentrated heat can warp keycaps and damage switch housings. Always keep the air duster nozzle at least 2–3 cm from sensitive components to prevent mechanical damage from high-pressure airflow.
How Often Should You Clean Your Keyboard?
Cleaning frequency depends on your environment and usage patterns. Here is a practical maintenance schedule:
- Daily: A quick 30-second pass with the air duster on low speed to clear surface dust.
- Weekly: A thorough blow-out on high speed, focusing on the spaces between keys.
- Monthly: A full deep clean with keycap removal, soaking, and spot-cleaning as described above.
If you eat at your desk, have pets, or live in a dusty environment, consider increasing the frequency to prevent buildup from affecting switch performance.
Common Keyboard Cleaning Mistakes to Avoid
- Using a damp cloth on the PCB: Moisture on the printed circuit board can short-circuit key matrix traces. Always use isopropyl alcohol, which evaporates without leaving residue.
- Pulling keycaps without a puller: Prying keycaps with a flathead screwdriver or fingernails can crack stems, especially on Cherry MX-style switches.
- Holding canned air upside-down: This releases the liquid propellant directly onto electronics, causing frost damage and potential corrosion.
- Ignoring stabilizers: The spacebar, enter, shift, and backspace keys use stabilizer wires that attract hair and crumbs. Always blow these out during deep cleans.
- Using a dishwasher for keycaps: The high heat can warp PBT and ABS plastic. Hand washing in lukewarm water is always safer.
Why the VOOSCO Electric Air Duster Is Ideal for Keyboards
The VOOSCO Electric Air Duster comes with a precision nozzle that fits perfectly between standard key spacing (19.05 mm center-to-center). The adjustable speed control lets you start gentle for surface dust and ramp up for embedded debris. With a 6,000 mAh battery, you can clean multiple keyboards, your monitor, and your entire desk setup on a single charge.
Unlike canned air, a VOOSCO duster produces zero waste, generates no moisture, and pays for itself after just three uses compared to buying disposable cans.
Ready to Give Your Keyboard the Clean It Deserves?
Browse our range of rechargeable electric air dusters and find the perfect kit for your setup.
Shop Air Dusters →