Dust is the silent killer of PC performance. It insulates heatsinks, clogs fan bearings, and traps heat against critical components. A PC that runs 10–15°C hotter than it should will throttle its CPU and GPU, stutter during gaming, and ultimately shorten the lifespan of every component inside the case.
The good news? Routine dust cleaning with a rechargeable electric air duster takes 15 minutes and can add years to your hardware's life. This guide covers every component inside your PC — motherboard, GPU, CPU cooler, power supply, case fans, and more — with safe, step-by-step instructions.
Before You Start: Essential Safety Rules
Critical Safety Checklist
PC components are sensitive to static electricity and physical damage. Follow these rules without exception before opening your case.
- Shut down completely and unplug the power cable from the wall outlet. Do not just put the PC to sleep.
- Press the power button after unplugging to discharge residual capacitor energy in the PSU.
- Ground yourself by touching a metal part of the case or wearing an anti-static wrist strap.
- Work on a non-carpeted surface to minimize static buildup.
- Hold fans in place when blowing air through them. Spinning a fan with compressed air can generate back-EMF that damages the fan header on the motherboard.
- Keep the nozzle 3–5 cm away from components to avoid mechanical damage from high-pressure airflow.
- Never use a household vacuum cleaner inside a PC — the static discharge risk is extreme.
What You Will Need
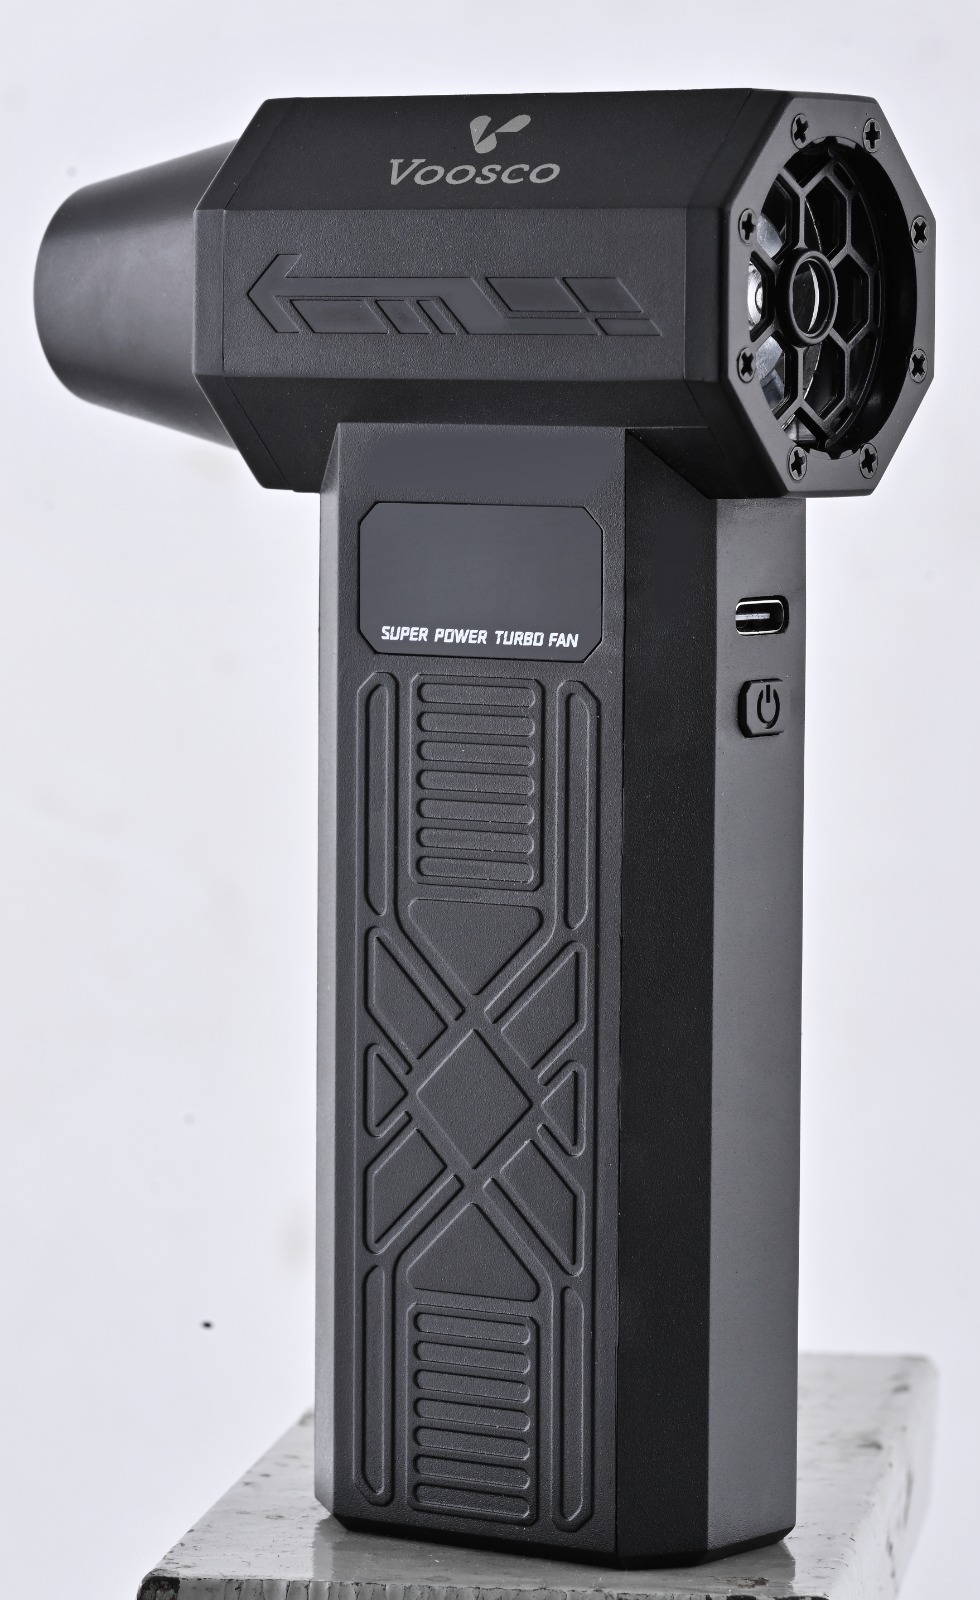
- A VOOSCO Rechargeable Electric Air Duster (Pro Kit or higher recommended for PC cleaning)
- A Phillips-head screwdriver (to remove side panel)
- A microfiber cloth
- Isopropyl alcohol (90%+ recommended) and cotton swabs
- Optional: an anti-static wrist strap
- Optional: a soft-bristle brush (for heatsink fins)
Component-by-Component Cleaning Guide
Graphics Card (GPU)
Your GPU is typically the dustiest component because its fans pull air directly through dense heatsink fins. Dust buildup here causes the most dramatic temperature increases — sometimes 15–20°C.
How to clean:
- If possible, remove the GPU from the PCIe slot for better access. Unclip the retention bracket, unscrew the backplate screws, and gently pull the card straight out.
- Hold the GPU fans stationary with one finger while blowing air through the heatsink fins from the backplate side. This pushes dust out through the fan openings rather than deeper in.
- Use the precision nozzle to target the gaps between individual heatsink fins.
- Clean the fan blades individually with a cotton swab dipped in isopropyl alcohol.
- Blow out the PCIe connector and backplate area before re-seating.
Pro Tip
If your GPU temperatures have increased by more than 10°C over time, dust in the heatsink is almost certainly the cause. A 5-minute cleaning session can restore factory-level thermals.
CPU Cooler (Air or AIO Radiator)
Whether you use a tower air cooler or an AIO liquid cooler, the heatsink fins or radiator fins collect dust rapidly because they are in the direct airflow path.
Air cooler:
- Remove the fan from the heatsink tower if your cooler design allows it (most clip-on fans detach easily).
- Blow air through the heatsink fins from one side to the other. Work in a consistent direction so dust exits cleanly.
- Clean the fan blades with a microfiber cloth or cotton swab.
AIO radiator:
- Remove the radiator fans to expose the radiator fins directly.
- Blow air through the radiator from the inside of the case outward. The goal is to push dust in the same direction it was pulled in.
- Pay special attention to the corners of the radiator where dust compacts most densely.
Motherboard
The motherboard itself does not generate much heat, but dust settling on it can bridge connections, trap moisture, and create a layer of thermal insulation over VRM heatsinks.
- Use the air duster on medium speed to sweep across the entire motherboard surface.
- Focus on the RAM slots, PCIe slots, M.2 slots, and the 24-pin power connector area — these are dust magnets.
- Blow out the VRM heatsinks near the CPU socket. These small heatsinks can lose significant cooling efficiency when clogged.
- Clear dust from SATA ports, front-panel header pins, and audio jacks along the bottom edge.
Power Supply (PSU)
The PSU's intake fan pulls in significant amounts of dust, especially if mounted at the bottom of the case with a filtered intake. A clogged PSU runs hotter, noisier, and can fail prematurely.
Do NOT Open the PSU
Power supplies contain high-voltage capacitors that can hold a lethal charge even when unplugged. Never remove the PSU cover. Only clean the exterior: fan grille, exhaust vent, and intake filter.
- Blow air through the fan grille from both the intake and exhaust sides.
- Remove and wash the PSU dust filter if your case has one (let it dry completely before reinstalling).
- Clean the modular cable ports on the PSU faceplate to ensure solid connections.
Case Fans and Dust Filters
Case fans are the first line of defense against dust — and the first to suffer from it. Dusty fan blades create turbulence, reduce airflow, and increase noise levels.
- Hold each fan stationary while blowing air through it. This is critical — allowing the fan to spin freely while cleaning can generate electrical feedback.
- Wipe each blade individually with a damp microfiber cloth for fans with heavy buildup.
- Remove all removable dust filters. Wash them under running water, let them air dry completely, and reinstall.
- Check that all fan screws are tight. Vibration from dusty, unbalanced blades can loosen mounting screws over time.
Recommended Cleaning Schedule
How often you should clean depends on your environment. Use this table as a guideline:
| Environment | Quick Dust | Deep Clean | Thermal Paste |
|---|---|---|---|
| Clean home office (no pets, hardwood floors) | Monthly | Every 6 months | Every 2 years |
| Home with pets (cats, dogs) | Every 2 weeks | Every 3 months | Every 18 months |
| Dusty / carpeted room | Weekly | Every 2–3 months | Annually |
| Workshop / garage | Weekly | Monthly | Annually |
| Server / always-on system | Weekly | Every 2 months | Annually |
Signs Your PC Needs Cleaning Right Now
Do not wait for a scheduled maintenance day if you notice any of these symptoms:
- Fans are louder than usual — the system is ramping fan speeds higher to compensate for reduced cooling efficiency.
- Temperatures are 10°C+ above baseline — check with HWiNFO64, Core Temp, or your motherboard's built-in monitoring.
- Games or applications stutter that previously ran smoothly — thermal throttling causes frame drops and lag spikes.
- Random shutdowns under load — a critical thermal protection mechanism. If your PC shuts down during gaming or rendering, overheating is the most likely cause.
- Visible dust on fan blades or filters — if you can see it without opening the case, the inside is worse.
Post-Cleaning Checklist
After reassembling your PC, run through this checklist before putting it back into service:
- All side panels are securely reattached.
- All power connectors (24-pin, 8-pin CPU, GPU power) are fully seated.
- All fan connectors are plugged back in.
- The GPU is fully seated in the PCIe slot with the retention clip locked.
- Dust filters are dry and reinstalled.
- No loose screws, zip ties, or tools left inside the case.
- Boot the system and enter BIOS to verify CPU temperature at idle (should be 30–45°C depending on cooler).
- Run a 10-minute stress test (e.g., Cinebench, FurMark) and monitor temperatures to confirm the cleaning made an impact.
Expected Results
A thorough dust cleaning typically reduces CPU and GPU temperatures by 5–15°C, reduces fan noise by 3–8 dB, and can restore sustained boost clock speeds that were being limited by thermal throttling. Many users report that their "aging" PC feels brand new after a proper cleaning session.
Keep Your PC Running Cool and Quiet
The VOOSCO Pro Kit includes everything you need for thorough PC maintenance — multiple nozzles, adjustable speed, and 45 minutes of continuous power.
Shop Air Dusters →